What is a Potentiometer?
Potentiometers are essential components in electronics, allowing smooth control over values like brightness, volume, or speed. In this tutorial, you’ll learn everything about using a potentiometer with Arduino, including wiring, code, and real-world uses.
Let’s turn the knob on your skills—literally!
You’ve likely seen a volume control knob on an old stereo or TV. That knob is a potentiometer, or “pot” for short. It’s a type of variable resistor that adjusts resistance manually via a rotating or sliding control.
By adjusting the resistance, the potentiometer changes the voltage at its output pin. This makes it ideal for electronic circuits where varying resistance is needed.
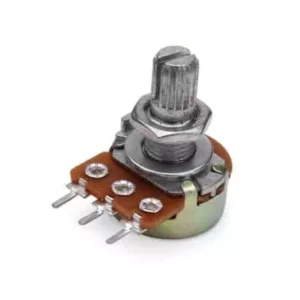
Types of Potentiometers
- Rotary Potentiometer (most common)
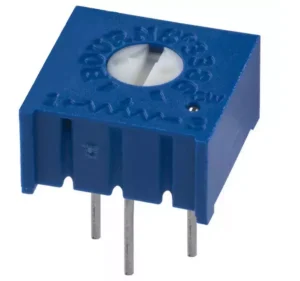
- Preset Potentiometer (trim pots for fine adjustment)
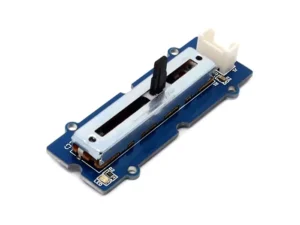
- Slide Potentiometer (uses sliders)
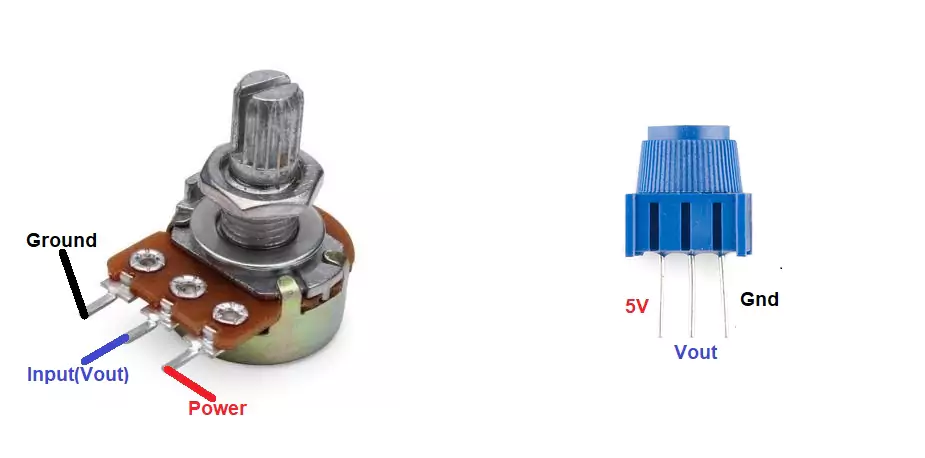
Potentiometer Pinout
Every standard potentiometer has three pins:
| Pin | Function |
|---|---|
| VCC | Connects to 5V power on Arduino |
| GND | Connects to Arduino ground |
| OUT | Output signal from the resistive track, goes to Arduino analog pin |
This configuration forms a voltage divider. As the knob turns, it changes the resistance between the left and right terminals, varying the voltage on the middle (OUT) pin.
🔧 If your readings decrease when turning clockwise, just swap the VCC and GND pins.
Components Needed
- 1 × potentiometer
- 1 × Arduino Uno/Nano/etc.
- Jumper wires
- Breadboard
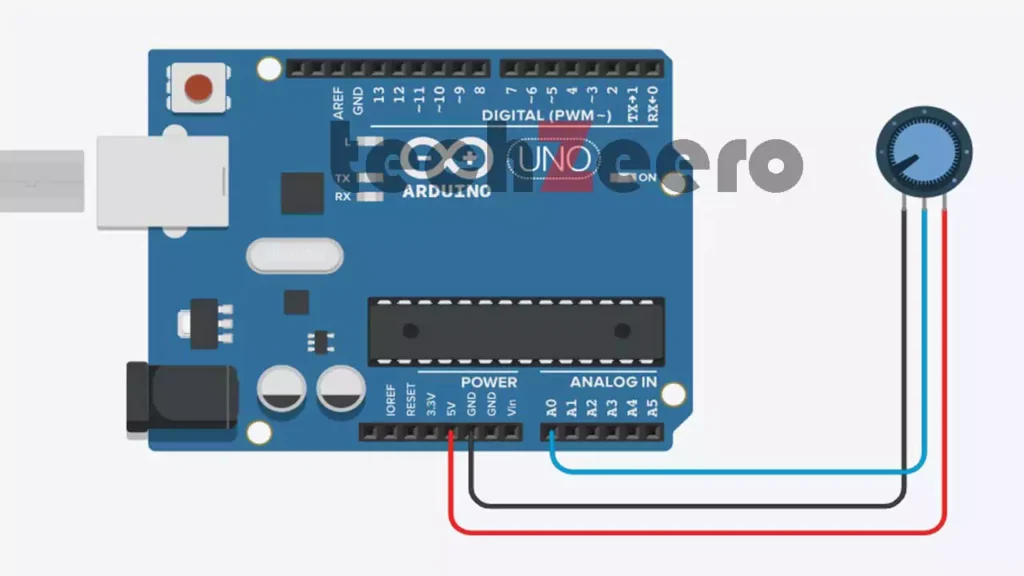
Circuit Diagram for Potentiometer with Arduino
Wiring a potentiometer with Arduino is simple:
- Connect the left pin (VCC) of the potentiometer to the 5V pin on Arduino.
- Connect the right pin (GND) to GND on Arduino.
- Connect the middle pin (OUT) to A0 (or any analog input).
Now your Arduino can read analog voltage values based on the knob’s position.
Arduino Code to Read Potentiometer Values
Now that you have a clear understanding of how to use a potentiometer with Arduino, it’s time to put your knowledge into practice.
Experiment with different settings and values to see how the potentiometer can be used to control various aspects of your electronics projects. Have fun exploring the possibilities and happy tinkering!
Upload the below code and open the Serial Monitor for viewing the potentiometer output values.
There is no need to declare an input for potpin in the setup function. It is automatically declared when we use the analogRead function.
If the voltage on pin decreases on increasing the rotation of the potentiometer, you can reverse the connections of the VCC and GND pins.
Output

Replacing the Range of Values by Percentages
If we want to change or replace the range value, such as the value obtained by an analog read from the potentiometer pin or other devices that give a variable voltage. For example, if we want to display the value in percentage from 0 to 100.
We use the Arduino map() function to mapping the range values to percentages.
percent = map(sensorValue,0,1023,0,100);Code for Potentiometer values in percentage
The below code convert the potentiometer values in percentage.
Common Uses for Potentiometer in Arduino Projects
Potentiometers shine in a variety of Arduino projects. Here are a few practical applications:
1. LED Brightness Control
By adjusting the resistive track, you can smoothly dim or brighten LEDs using PWM output.
2. Servo Angle Control
Control servo motors by mapping the potentiometer position to degrees. It’s perfect for robotic arms or camera gimbals.
3. Audio Mixing Consoles
In DIY audio setups, use potentiometers for volume control, EQ, or panning. Their analog nature mimics real hardware mixers.
4. Interactive Art & Games
Artists use potentiometers to let viewers adjust lighting, sound, or movement in interactive installations.
5. Calibration Tools
Use potentiometers to fine-tune thresholds for sensors in data loggers, thermostats, or feedback loops.
Troubleshooting Tips for Potentiometer and Arduino Setups
If your potentiometer with Arduino isn’t behaving, try these steps:
- 🔌 Check all connections: Make sure VCC, GND, and OUT are correctly wired. Recheck the potentiometer pinout section.
- 💻 Review the code: A typo in the analog pin number can prevent readings.
- 🔁 Reverse power pins: If values go down when turning right, switch VCC and GND.
- 🧪 Test separately: Try another potentiometer or Arduino to isolate the issue.
💡 Still stuck? Visit forums like the Arduino Stack Exchange or Reddit’s r/arduino for quick help.
Final Thoughts
By now, you should have a clear understanding of how to read values from a potentiometer with Arduino, how to wire it correctly, and where it can be used.
This simple component opens the door to user-controlled interactivity in your circuits. Whether you’re adjusting light intensity, volume, or movement, potentiometers give you precise analog control in a digital world.