Introduction to Push Button Switches
Push button switches are a simple yet versatile way to interact with your Arduino board, opening up a world of possibilities for creating interactive and responsive gadgets.
In this blog post, we’ll guide you through everything you need to know about using push button switches with Arduino – from circuit diagrams and code examples to exciting project ideas. Let’s dive in and explore the endless potential of combining Arduino with push button switches!
In this blog, we will learn how to use a push-button with Arduino and also turns on the built-in LED on pin 13 when pressing the push button.
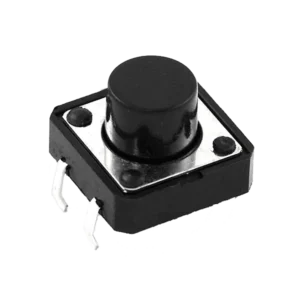
A pushbutton is a switch when we pressed the button it makes a connection between its two legs.
The ability of Arduino to sense digital and analog inputs allows it to respond to you and to the world around you.
Here we introduce techniques that can use to do useful things with these inputs. This section will cover the electrical section of Arduino.
When wiring components to your Arduino be careful about how to connect and power the things. Arduino uses a robust controller chip that can take a fair amount of power, but one can damage the chip if it connects the wrong voltages or short circuit an output pin.
Mostly Arduino controller chips are powered by 5 volts, do not connect external power to Arduino pins with a higher voltage than this (or 3.3 volts if your Arduino controller runs on this voltage).
Must See:
Components Needed
- Arduino.
- Push Button.
- Breadboard.
- LED.
- Jumper Wires.
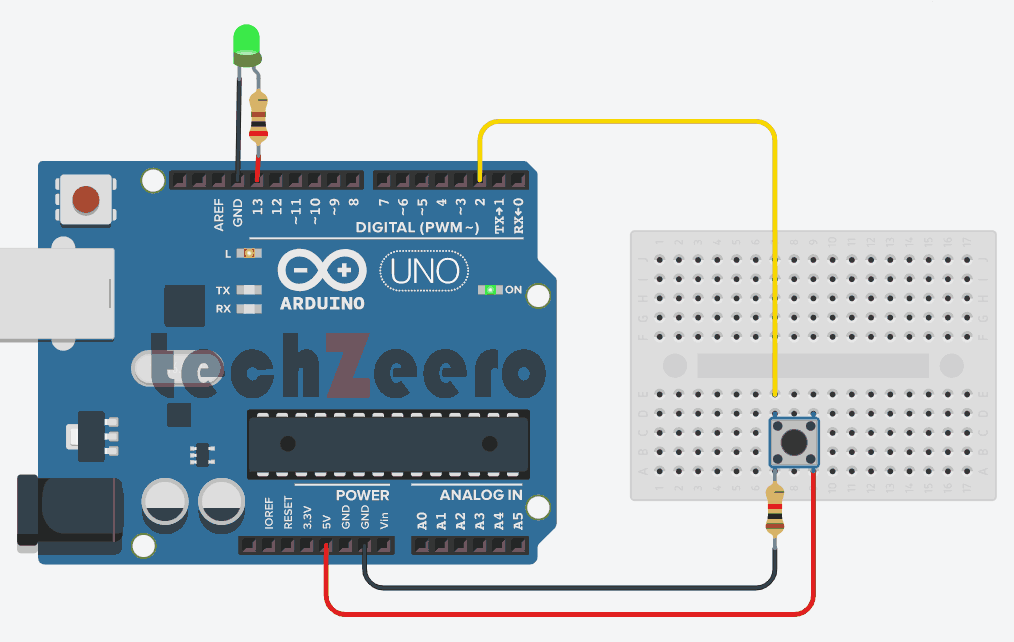
Circuit Diagram of Push Button with Arduino
The circuit diagram typically consists of the push button switch connected to specific pins on the Arduino board. By following this visual representation, you can ensure that each wire is in its designated place, avoiding potential errors during setup.
In most cases, one side of the push button connects to a digital pin on the Arduino while the other side links to either power or ground, depending on your project requirements. This configuration allows the Arduino to detect when the button is pressed or released accurately.
Connect an LED to Pin 13 of the Arduino, which can be controlled by a push button.
Code for Push Button with Arduino
Set up your push button switch by connecting one leg to a digital pin on the Arduino and the other leg to ground. Remember to use a pull-down resistor for stable readings. Next, define variables in your code such as inputPin for the input from push button and ledPin for an output pin that controls an LED.
Utilize functions like pinMode() to declare the pins as inputs or outputs and digitalRead() to read from the inputPin. Incorporate conditional statements like if-else loops to determine when the button is pressed or released. This will allow you to trigger specific actions based on these events.
Determining How Long a Switch is Pressed
In a scenario where an application requires the capability to track the duration of time a switch remains in its current state, particularly for tasks such as incrementing a value while the switch is engaged, with the intention of accelerating the increment rate the longer the switch is held down, as often observed in electronic clock settings.
The provided demonstration illustrates the functionality of a countdown timer:
Depressing the switch initiates the timer, augmenting the time count, while releasing the switch triggers the commencement of the countdown.
Initially, the count increments by one upon the switch’s activation.
Furthermore, prolonging the depression of the switch for more than one second enhances the increment rate by four, while extending it to four seconds amplifies the rate by ten.
Upon releasing the switch, the countdown commences, and when the count reaches zero, a designated pin is set to a HIGH state.
Code For Determining Switch Pressed Time
One way to achieve this is by using millis() function in Arduino. This function returns the number of milliseconds since the board began running the current program. You can capture the start time when the button is pressed and then calculate how long it was held down by comparing it to the current time.
With a simple if statement checking for when the button transitions from being pressed to released, you can record both start and end times effectively. Subtracting these values gives you precisely how long the switch was activated.
Sample Projects Using a Push Button Switch and Arduino
Are you ready to take your Arduino projects to the next level with push button switches? Let’s explore some exciting sample projects that you can create using a push button switch and Arduino.
- One fun project is creating a simple game where pressing the button triggers an action on a display or LED. You could design a reaction time game or even a mini music player controlled by the push button.
- Another creative idea is building a smart doorbell system. By integrating the push button with Arduino, you can set up notifications when someone rings your doorbell, complete with customizable tunes or alerts.
- For those interested in home automation, consider designing a setup where pressing the push button activates specific household tasks like turning on lights or controlling appliances. The possibilities are endless!
Troubleshooting Common Issues with Push Button Switches and Arduino
Having trouble with your push button switch and Arduino setup? Don’t worry, troubleshooting common issues is part of the learning process.
- If your push button isn’t working, check the connections first. Make sure everything is wired correctly according to the circuit diagram.
- Sometimes a faulty or low-quality push button can cause issues. Consider replacing it with a high-quality one to see if that solves the problem.
- Interference from other components or loose connections can also affect the performance of your push button switch. Double-check all connections and make sure there are no loose wires.
- If you’re still experiencing issues, try testing different code variations to see if the problem lies in the programming aspect rather than hardware.